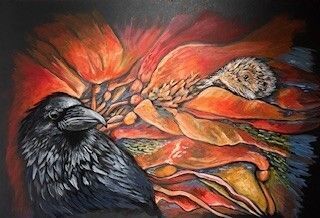
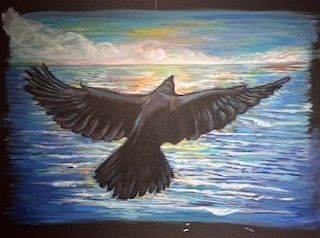
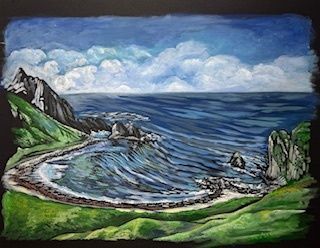
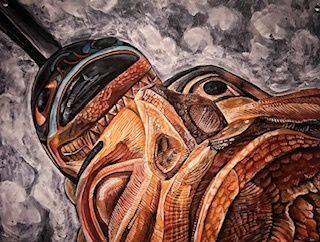
from: Raven Makes the Aleutians
-
(original)
from “Raven Makes the Aleutians”
published by Sealaska Heritage Institute
acrylic, matboard
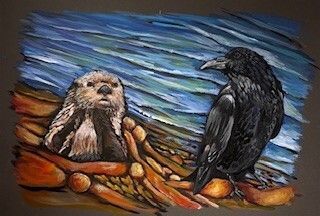
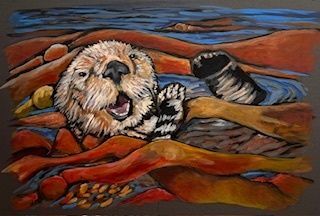
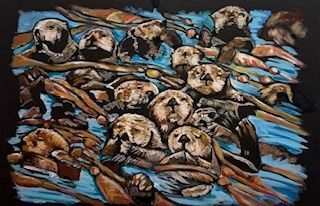
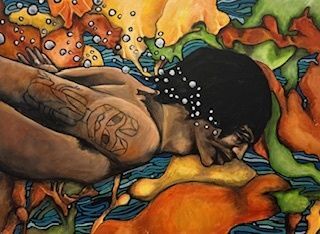
22" x 31"Curious The Sea Otter
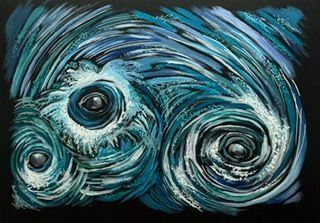
Image by KAAHC
-

(original)
from “Raven Makes the Aleutians”
published by Sealaska Heritage Institute
acrylic, matboard
22" x 29 1/4"After A Long Time
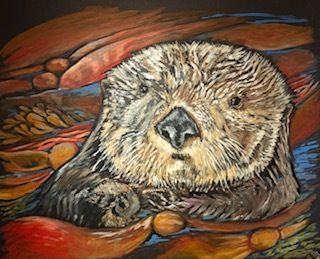
Image by KAAHC
-
(original)
from “Raven Makes the Aleutians”
published by Sealaska Heritage Institute
acrylic, matboard
20" x 29"The Proud Sea Otter
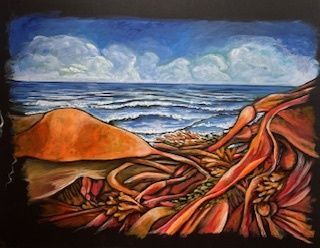
Image by KAAHC
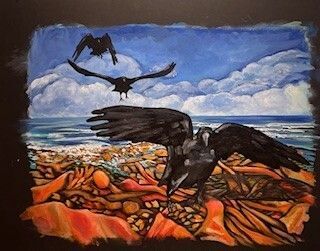
-
(original)
from “Raven Makes the Aleutians”
published by Sealaska Heritage Institute
acrylic, matboard
25 1/2" x 37"He Kept Hearing This Sound
Image by KAAHC
-
(original)
from “Raven Makes the Aleutians”
published by Sealaska Heritage Institute
acrylic, matboard
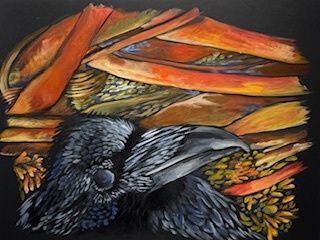
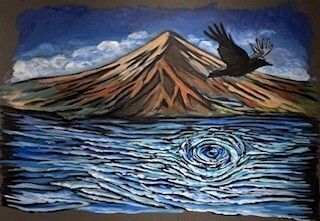
23" x 30 1/2"Raven Lay There
Image by KAAHC
-
(original)
from “Raven Makes the Aleutians”
published by Sealaska Heritage Institute
acrylic, matboard
20" x 29 1/2"Handful of Gravel
Image by KAAHC
-
(original)
from “Raven Makes the Aleutians”
published by Sealaska Heritage Institute
acrylic, matboard
22 1/2" x 30 1/2"After The Flood #1
image by KAAHC
-
(original)
from “Raven Makes the Aleutians”
published by Sealaska Heritage Institute
acrylic, matboard
25 x 31 1/2He Then Began To Fall
Image by KAAHC
-
(original)
from “Raven Makes the Aleutians”
published by Sealaska Heritage Institute
acrylic, matboard
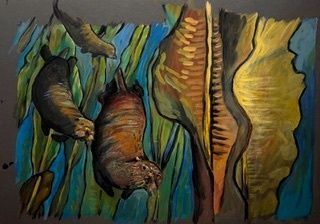
22 x 32 1/2After The Flood #2
Image by KAAHC
-
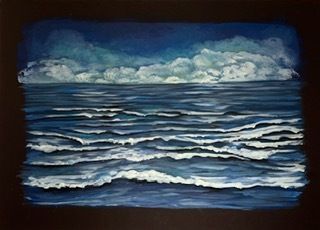
(original)
from “Raven Makes the Aleutians”
published by Sealaska Heritage Institute
acrylic, matboard
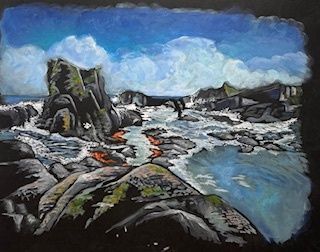
23" x 32"There Was Nothing But Water
Image by KAAHC
-
(original)
from “Raven Makes the Aleutians”
published by Sealaska Heritage Institute
acrylic, matboard
25" x 32 1/2"Across These Islands
Image by KAAHC
-
(original)
from “Raven Makes the Aleutians”
published by Sealaska Heritage Institute
acrylic, matboard
20 1/2" x 28 1/2"Raven Tossed A Pebble
Image by KAAHC
-
(original)
from “Raven Makes the Aleutians”
published by Sealaska Heritage Institute
acrylic, matboard
26" x 32"A Sea Otter, YÁXWCH
Image by KAAHC
-
(original)
from “Raven Makes the Aleutians”
published by Sealaska Heritage Institute
acrylic, matboard
24 1/2" x 31 1/2"A Bed of Seaweed
Image by KAAHC
-
(original)
from “Raven Makes the Aleutians”
published by Sealaska Heritage Institute
acrylic, matboard
20" x 30"He Wished for Kelp
image by KAAHC
-
(original)
from “Raven Makes the Aleutians”
published by Sealaska Heritage Institute
acrylic, matboard
22 1/4" x 32"Another Pebble
Image by KAAHC
-
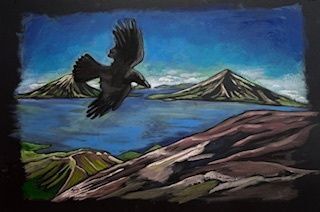
(original)
from “Raven Makes the Aleutians”
published by Sealaska Heritage Institute
acrylic, matboard
23 1/4" x 29 1/4"The New Island
Image by KAAHC
-
(original)
from “Raven Makes the Aleutians”
published by Sealaska Heritage Institute
acrylic, matboard
23" x 31"Looking For A Pebble
Image by KAAHC
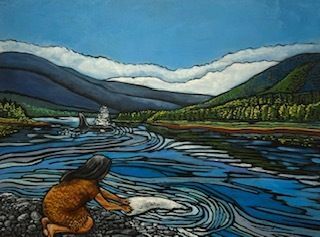
from: The Woman Carried Away by Killer Whales
-
The Woman Carried Away(reproduction)
from “The Woman Carried Away by Killer Whales”
published by Sealaska Heritage Institute
acrylic, metal
18" x 24"The Woman Carried Away
Image by KAAHC
-
(original)
from “The Woman Carried Away by Killer Whales”
published by Sealaska Heritage Institute
acrylic, wood
18" x 24"She Jumped In
Image by KAAHC
-
(original)
from “The Woman Carried Away by Killer Whales”
published by Sealaska Heritage Institute
acrylic, wood
18" x 24"The Journey Ahead
Image by KAAHC
-
(original)
from “The Woman Carried Away by Killer Whales”
published by Sealaska Heritage Institute
acrylic, wood
18" x 24"We’ll Wait For You Here
Image by KAAHC
-
(original)
from “The Woman Carried Away by Killer Whales”
published by Sealaska Heritage Institute
acrylic, wood
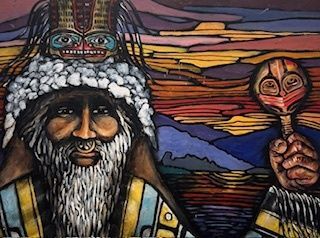
18" x 24"NANASIMGIT
Image by KAAHC
-
(original)
from “The Woman Carried Away by Killer Whales”
published by Sealaska Heritage Institute
acrylic, wood
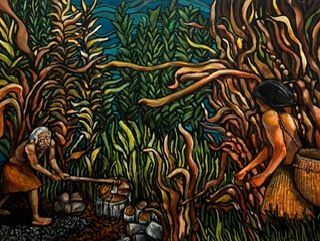
18" x 24"The Wood Chopper
Image by KAAHC
-
(original)
from “The Woman Carried Away by Killer Whales”
published by Sealaska Heritage Institute
acrylic, wood
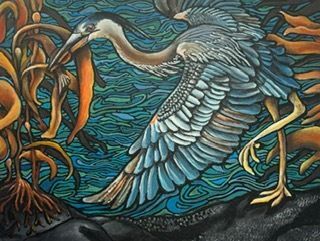
18" x 24"Heron
Image by KAAHC
-
(original)
from “The Woman Carried Away by Killer Whales”
published by Sealaska Heritage Institute
acrylic, wood
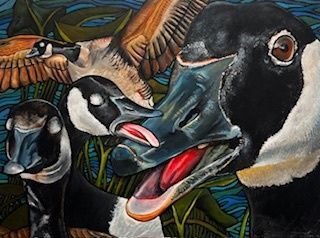
18" x 24"Healing Blind Geese
Image by KAAHC
-
(original)
from “The Woman Carried Away by Killer Whales”
published by Sealaska Heritage Institute
acrylic, wood
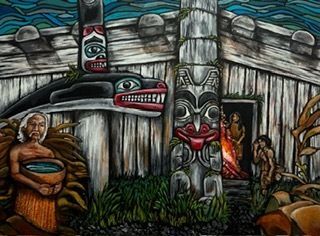
18" x 24"Sgáan House
Image by KAAHC
-

(original)
from “The Woman Carried Away by Killer Whales”
published by Sealaska Heritage Institute
acrylic, wood
18" x 24"Water on The Fire
Image by KAAHC
-
(original)
from “The Woman Carried Away by Killer Whales”
published by Sealaska Heritage Institute
acrylic, wood
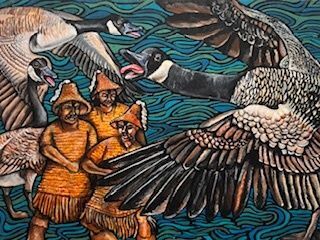
18" x 24"The Geese Flapped Thier Wings
Image by KAAHC
-

(reproduction)
from “The Woman Carried Away by Killer Whales”
published by Sealaska Heritage Institute
acrylic, metal
18" x 24"Sea Otters
Image by KAAHC
-
(original)
from “The Woman Carried Away by Killer Whales”
published by Sealaska Heritage Institute
acrylic, wood
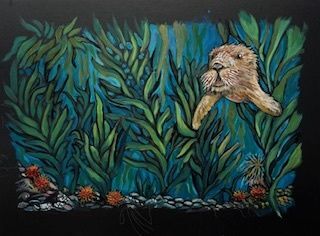
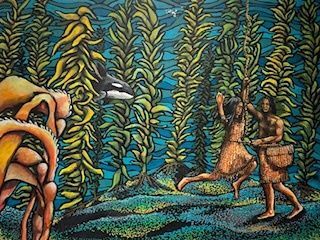
18" x 24"Climbing The Kelp
Image by KAAHC
-
(original)
from “The Woman Carried Away by Killer Whales”
published by Sealaska Heritage Institute
acrylic, wood
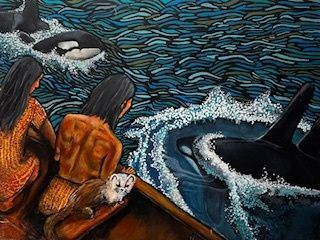
18" x 24"Double-Fin Killer Whale
Image by KAAHC
-
(original)
from “The Woman Carried Away by Killer Whales”
published by Sealaska Heritage Institute
acrylic, wood
18" x 24"The Village Welcomed them Home
Image by KAAHC
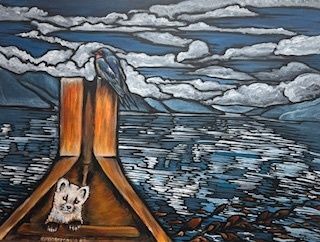
-
Sea Otter
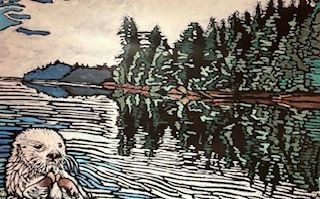
Image by KAAHC
-
Killer Whale Totem
Image by KAAHC
from: The Woman Who Married the Bear
-
(original)
from “The Woman Who Married The Bear”
published by Sealaska Heritage Institute
acrylic, wood
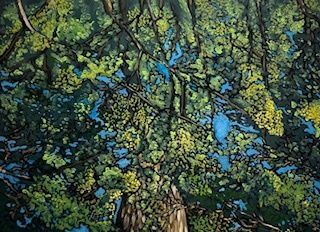
17 1/2" x 23 1/2"The Trees
Image by KAAHC
-
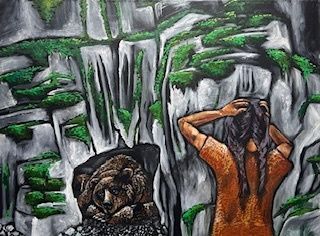
(original)
from “The Woman Who Married The Bear”
published by Sealaska Heritage Institute
acrylic, canvas
18" x 24"Sleepy Time
Image by KAAHC
-
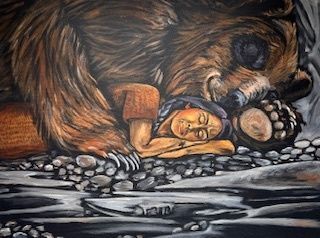
(original)
from “The Woman Who Married The Bear”
published by Sealaska Heritage Institute
acrylic, canvas
18" x 24"Her Husband A Bear
Image by KAAHC
-
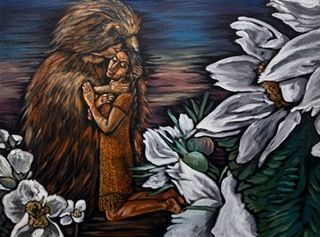
(original)
from “The Woman Who Married The Bear”
published by Sealaska Heritage Institute
acrylic, canvas
18" x 24"Honor Restored
Image by KAAHC
-
Bear Eyes
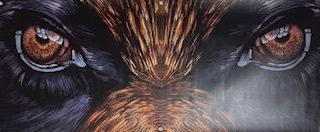
Image by KAAHC
-
Healing Hands
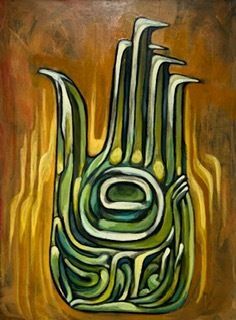
Image by KAAHC
Purchase
-
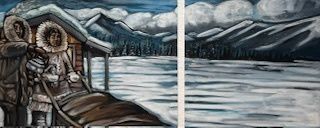
1925 Serum Run - Iditarod Set